
Anleitungen/Symbole & Blöcke
AutoCAD Wire Numbering — Number Every Wire in a Schematic Without AutoCAD Electrical
Aktualisiert am November 13, 2026
Erstellt mit CADXChange Symbols for AutoCAD Pro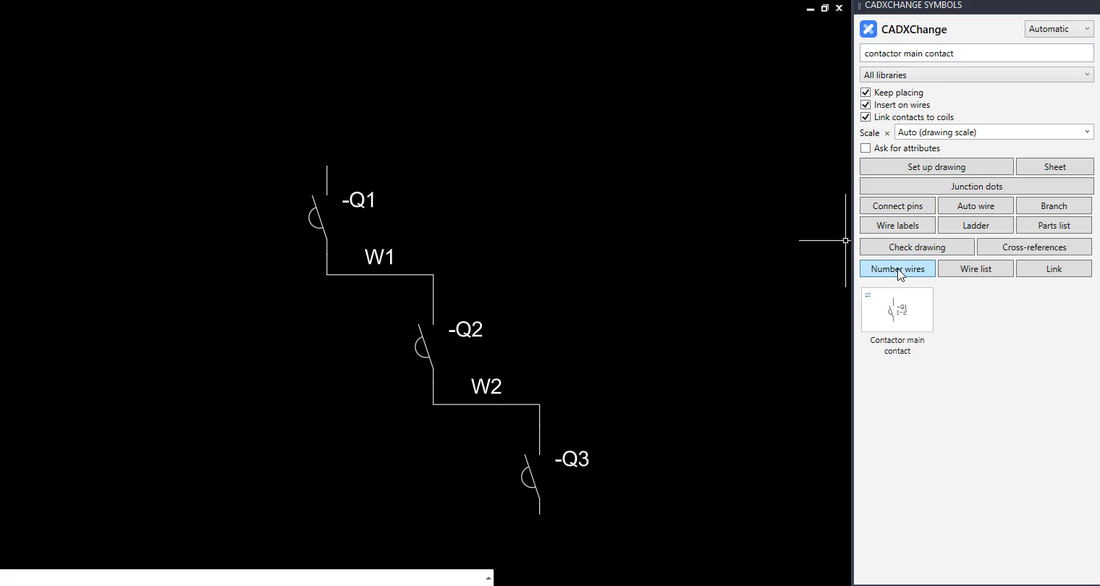
Every wire in a schematic needs a number. The electrician reads W7 on the drawing, finds W7 on the cable, and the panel builder wires to a list. By hand that is a text object per wire, and the one rule that matters is easy to break: every piece of one electrical node carries the same number, and no two nodes share one.
Dedicated electrical packages number wires inside a project, with their own symbol libraries and project files. This guide takes the simpler route: schematics drawn from plain blocks and lines in any full AutoCAD 2021 to 2027, kept as ordinary DWG files with no project files.
1. Decide the scheme before the first number
Pick a prefix and a start number (W1, W2, ... or 101, 102, ...), and decide what counts as one wire. In a schematic, wires that meet at a junction or a terminal point are one node and share one number. A wire that continues on the other side of a device, such as a contactor or a breaker, is a new wire and gets a new number. Without this rule numbers get reused, or one node ends up with two.
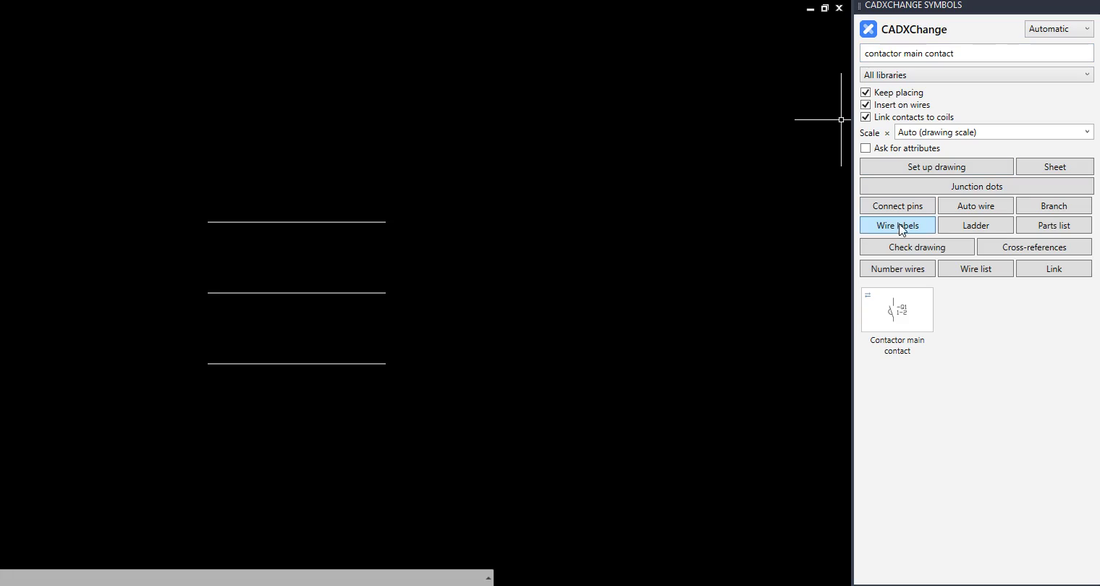
2. Number wires one at a time with Wire labels
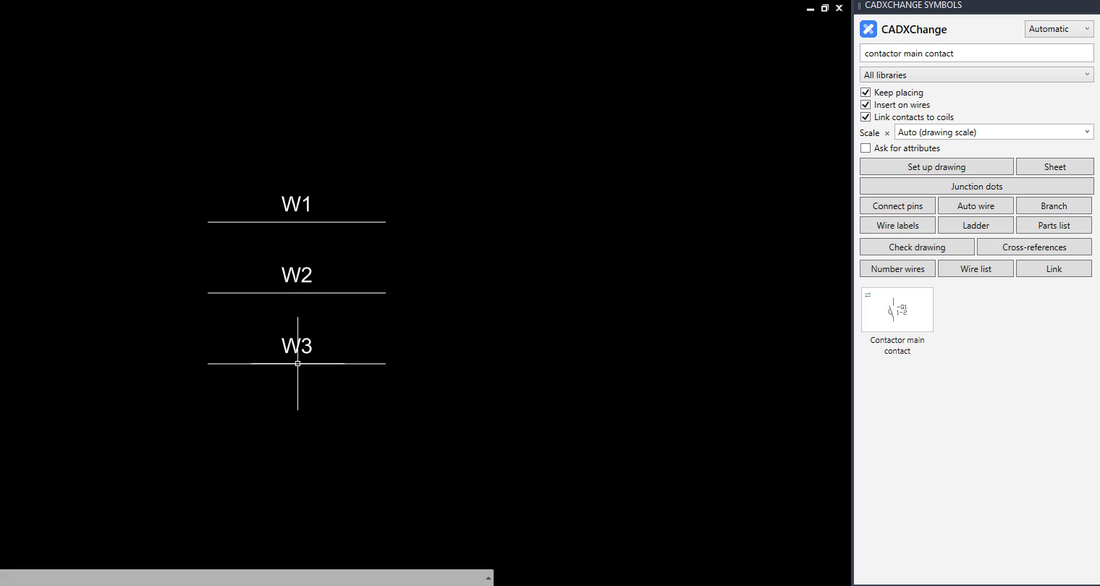
Click Wire labels in the palette, type a prefix and a start number, then click each wire. Each click puts the next number on the wire you clicked. In the pictures, three wires get W1, W2 and W3.
This is the right tool for a small drawing, or for the handful of wires you add after the main numbering. It is in the standard edition of the palette.
3. See the result on the wires
The labels sit on the wires they belong to and count up in the order you clicked. Click in the order you want the numbers: left to right, or the order of your wire list.
4. Number the whole drawing with Number wires
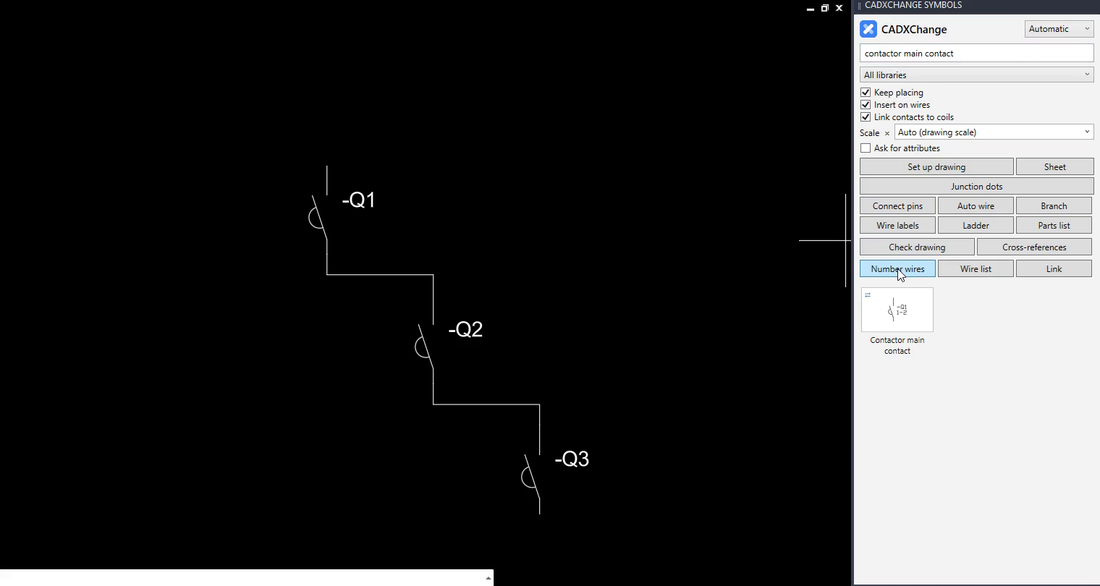
On a full drawing, clicking every wire is the slow part. Number wires does it for the whole drawing at once. The command line asks for a label prefix and a first number (press Enter to accept the defaults), and then every connected wire gets one number, the same on all pieces of the same node. The command line reports how many numbers it placed, one per connected wire.
Number wires is a Pro tool. The picture shows the moment after the button is clicked; the hero picture at the top is the result, W1 and W2 on the two wires between three contacts.
5. Run it again after changes
Move a symbol, add a branch or delete a wire, and the numbering is out of date. Run Number wires again: the old numbers are replaced, so the drawing does not carry a half-stale numbering. If cable numbers from an earlier revision have already been issued, finish the wiring first, number once, and compare against the issued list before you release.
A numbered drawing is also what the wire list is made from: the From/To table with both ends of every wire. The guide on exporting a wire list as CSV shows that step.
The method does not depend on a tool: a clear rule for what one wire is, one number per node, and a way to find the numbers again when the drawing changes. The palette removes the typing and the bookkeeping, one click per wire or one click per drawing.
The palette installs free, and during the 14-day trial every tool is open, Pro tools included. It works with the full AutoCAD 2021 to 2027 on Windows; AutoCAD LT is not supported.
Try it in your own drawing
The palette installs free and opens every symbol and tool for 14 days, Pro features included. After that the 12 free symbols stay open. Your drawings stay normal DWG files that open anywhere.
See the palette and download the free trial →