
Guias/Printing & delivery
Batch Plot Multiple AutoCAD Drawings to One PDF — In the Order You Choose
 Feito com o Dwg2Pdf
Atualizado em September 30, 2026
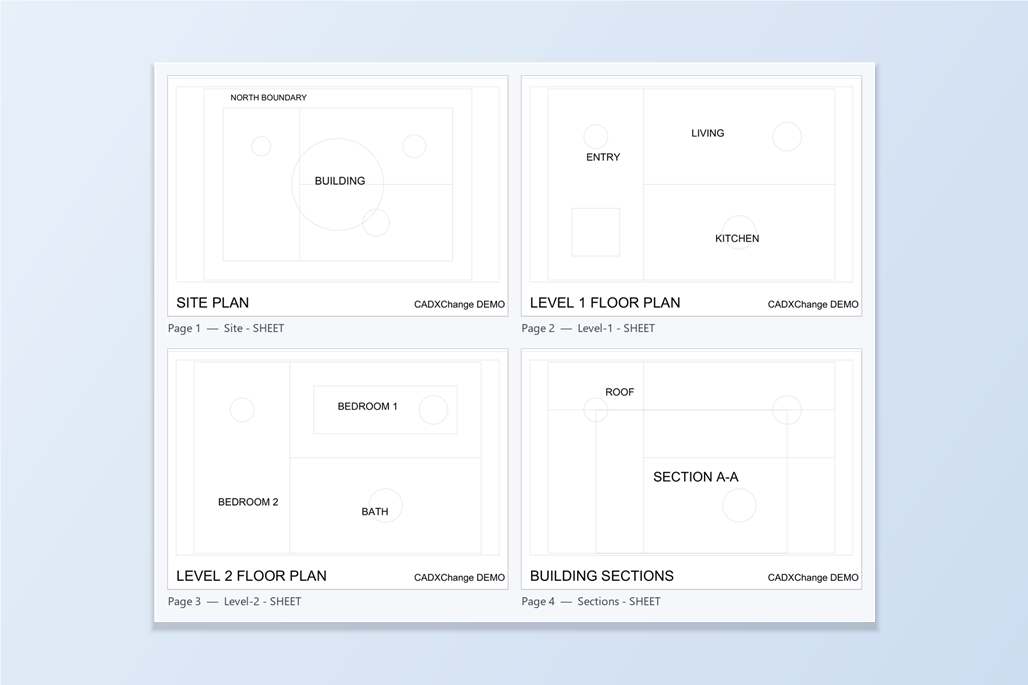
An issue set usually goes out as one PDF: the site plan, then the floor plans, then the sections, in the order the reader expects. The drawings behind it are separate DWG files, each with its own layouts, and their file names rarely sort into the order the PDF needs.
AutoCAD's own routes cover only part of that. PLOT works on the drawing that is open, and PUBLISH means building and re-ordering a sheet list every time the set is issued. When you want the pages arranged differently, the usual answer is to plot first and merge the PDFs afterward in another tool.
This guide uses Dwg2Pdf. It scans every layout of every drawing you add, lets you tick the ones you want and put them in the order you want, and plots them into one merged PDF in a single run. The example is four drawings with one paper layout each; the Free tier handles up to 10 drawings per run.
1. Add the drawings and pick the layouts
Open Dwg2Pdf and add the drawings with Add Files… or Add Folder…. Every layout in every file is scanned at once and listed with a thumbnail. The list runs across all the files, so you don't open them one at a time. Each row shows the source file, an editable PDF bookmark title and a P or M badge for paper or model space.
Tick the layouts that belong in the PDF; unticked ones are skipped. Here the Paper checkbox is on and Model is off, so only the paper layouts are included, and the Filter box is set to SHEET so the list shows just those four rows. Filtering only hides rows: it changes neither what is ticked nor the order.
The number beside each ticked row is its page position in the output. The files came in by file name, Level-1, Level-2, Sections, Site, which is not the order this set should be issued in.
2. Put the pages in the order you want
Drag a row by its handle, or select it and use Top, Up, Down and Bottom; Sort by file and Sort by layout put the whole list in natural order in one click first (A-2 before A-10), and you move only the exceptions. The order of the list is the page order of the PDF. Here Site is selected and moved to the top, and the numbers update at once: Site is page 1, then Level-1, Level-2 and Sections.
3. Merge everything into one PDF and plot
In the Output panel, choose Merge all files into one PDF. It writes a single file with every ticked layout from every drawing, in list order, and offers three ways to name it: Default (output.pdf), Name after output folder, or Name after common file name prefix. If a choice can't give a usable name, for example because the files share no prefix, output.pdf is used.
Set the output folder with Browse…, leave the colour and paper settings as they are for now, and click Plot. When it finishes, the status line reads Done. 1 pdf file(s) created.
4. Check the merged PDF
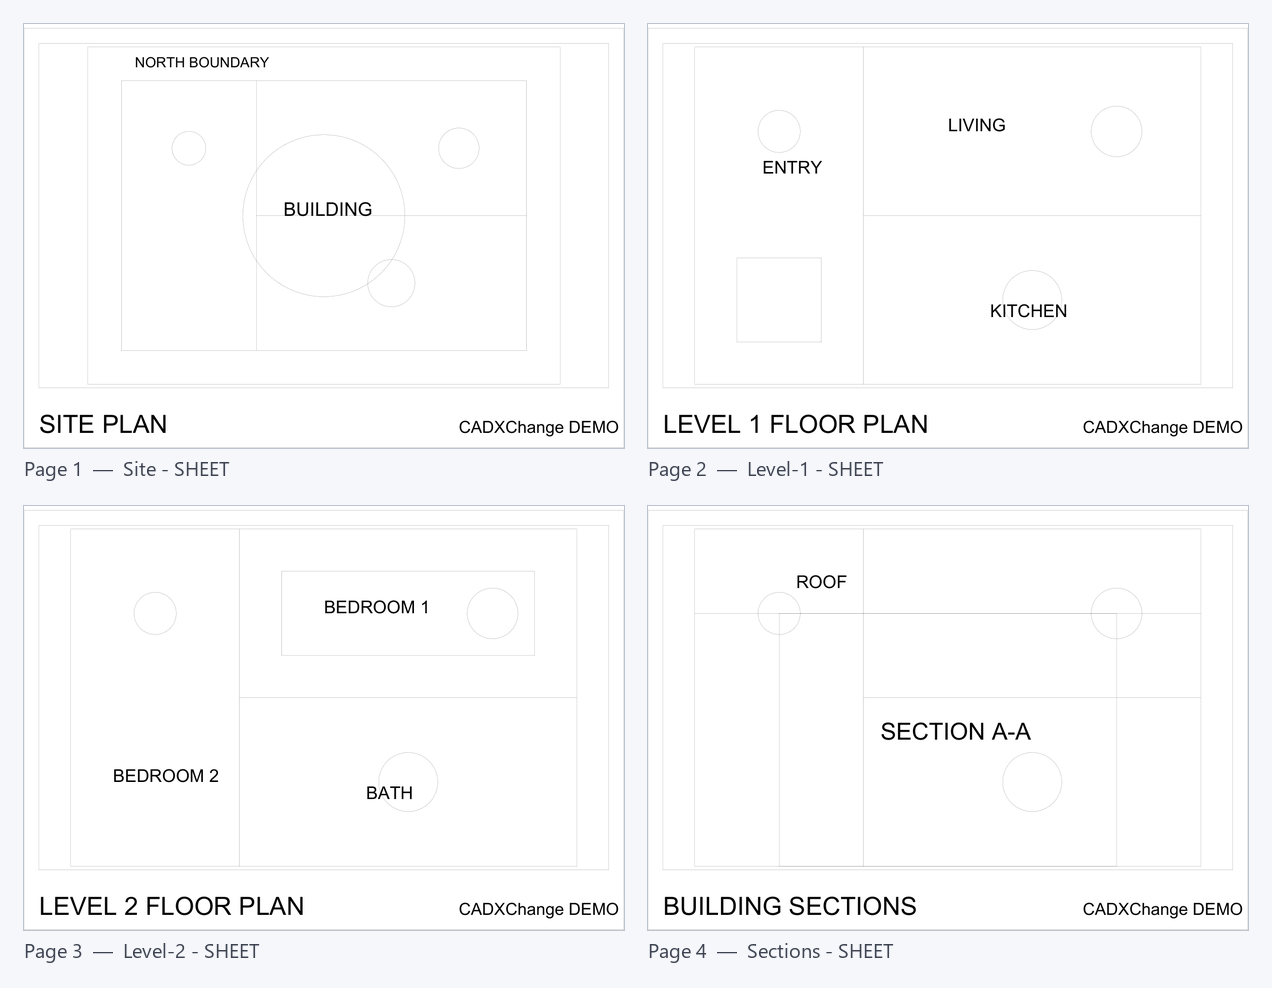
The result is one four-page PDF in the order of the list: the site plan first, then the two floor plans, then the sections. Each layout also becomes a bookmark in the PDF, named after the bookmark title in its row, which defaults to the drawing name and layout name, such as Level-1 - SHEET. Edit a title in the list before plotting to change what the bookmark says.
5. Or split the output differently
The same list can produce other arrangements. Merge all layouts into one PDF writes one PDF per drawing, with that drawing's ticked layouts as its pages. One PDF per layout writes a separate PDF for every ticked layout. Both let you name the files from a template, such as {File} or {Prop:DWG_NO}_{Prop:REV}, which the guide on naming PDFs by drawing number and revision walks through.
If the PDFs already exist, Dwg2Pdf's Merge PDF mode combines them in the order you set without any DWG or AutoCAD involved, and each source file becomes a bookmark in the result.
One thing to check before you plot: layouts that are unticked or that you never scrolled to are not in the PDF, and the Filter only hides rows, so look through the list once with the filter cleared. The paper size, scaling and colour settings apply to the whole run; if some pages need a different plot style, for example a monochrome cover sheet, see the guide on plotting different CTBs in one merged PDF.
For a full walkthrough of every screen and setting, see the Dwg2Pdf docs. To try it on your own drawings, download Dwg2Pdf — the Free tier covers up to 10 drawings per run.
Convert DWG to PDF Online (Free, No Upload) →